
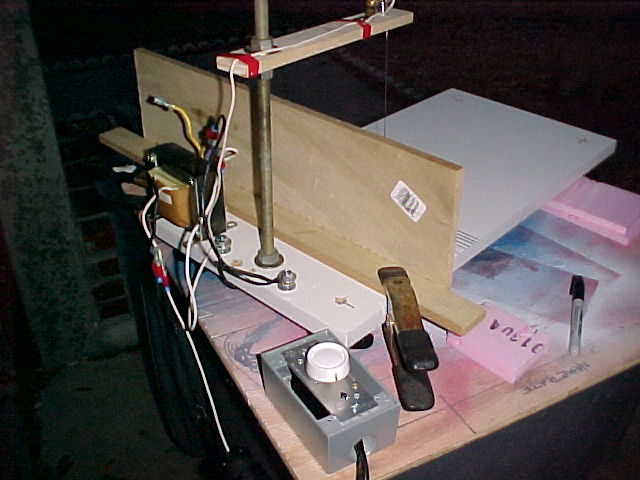
This is Version II of the foam cutter. In this photo you can see the transformer fed by the dimmer. Th allthread upright gives me a definite plus in adjustability. You can just barely see the tension spring in the upper connector. I made a taller fence and simply use the spring clamps to hold it in place as I rip big pieces of foam into useable sizes.
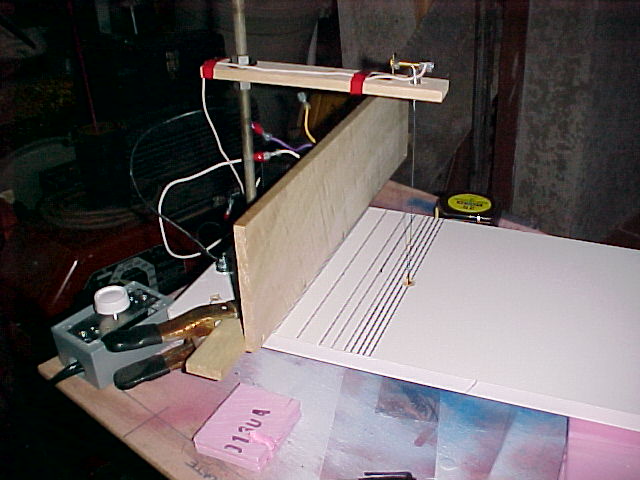
A front view showing the guitar wire cutting wire, the spring tension in the connector and a bunch more guide lines for placing the fence.
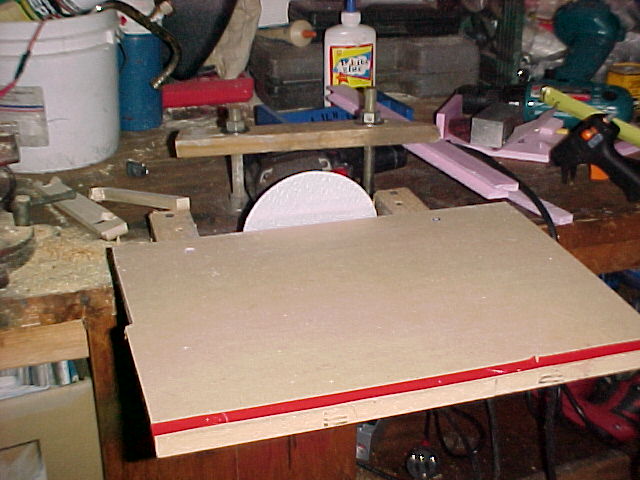
My finances won't allow a decent sander yet so I cobbled this unit togther. I used my 3/8 inch Sears drill clamped down on to the workbench top with a crude clamp board and more allthread. I bought a cheap disc sander attachment at the hardware store and some 'fine' sandpaper discs. I built a small working table hanging out from the workbench and set the drill sander up against the edge. It didn't work to well. The sandpaper discs seem attach very well and fell off and the sander got vibrating and didn't stay square with the work table. I hand sanded alot more then I use this....but someday....
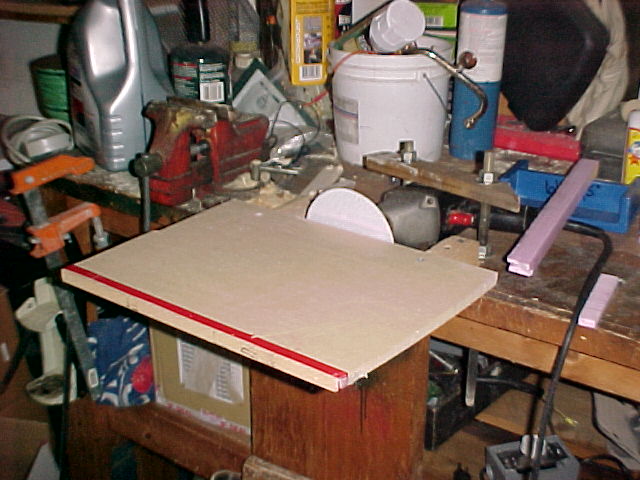
I never seem to have any room to work on the workbench!! In this photo you can see the drill clamp amongst the pile of stuff on the bench.
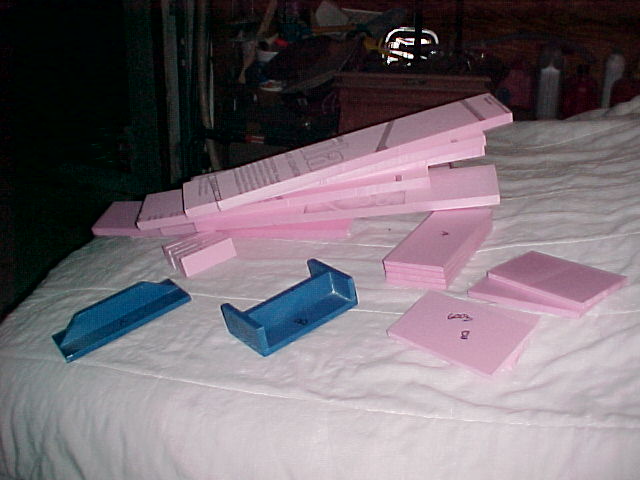
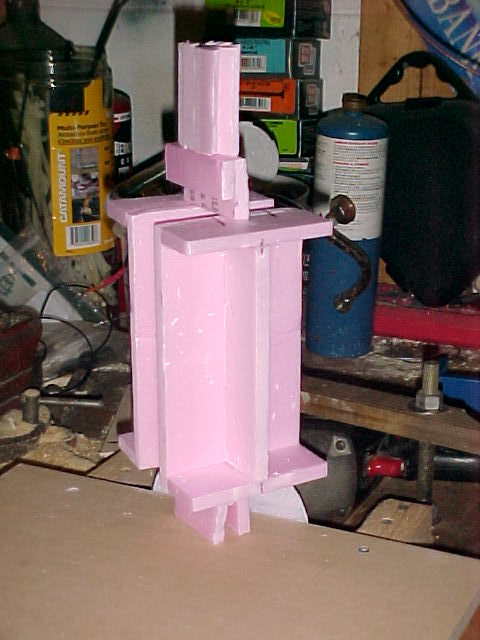
Some foam sheets getting cut up on the hot wire foam cutter in preparation for making some lost foam mockups of my flask pattern. It is a learning experience.
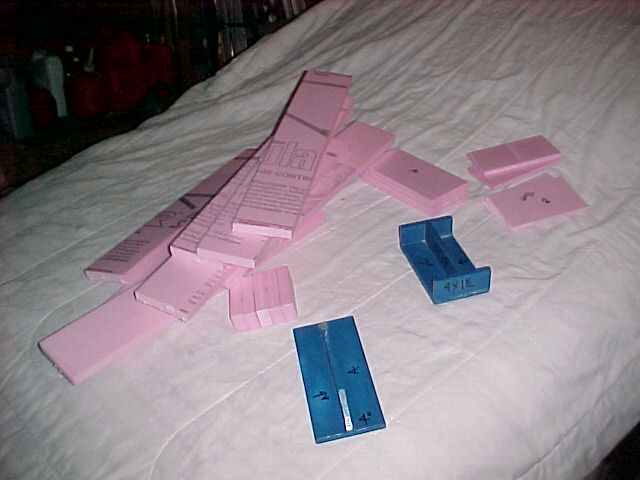
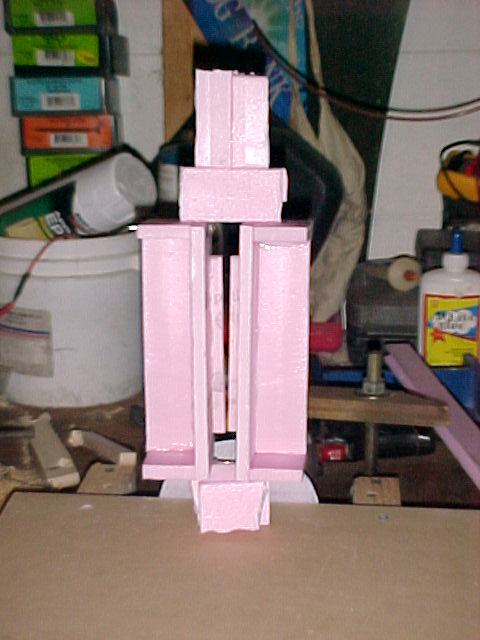
Another view of the flask patterns coming together. I found it easier to mark the sizes on the patterns rather then continously measuring them!
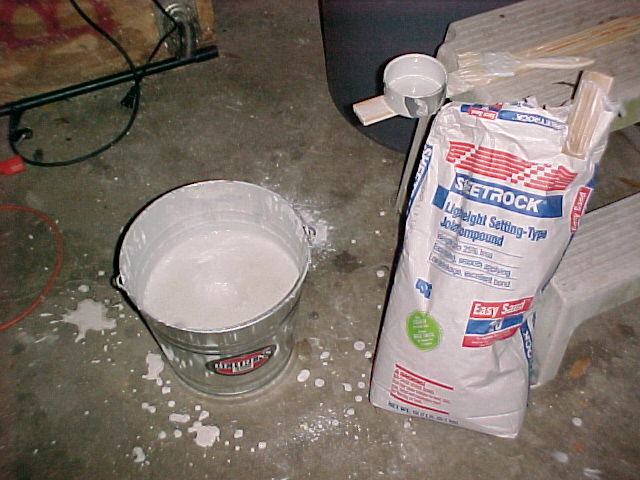
I mixed up a bucket of sheetrock mud...it came in a bag, simply add water and apply. Well I wanted to dip my patterns...it didn't get runny enough, so I added water...oops now its runny. I hear there is premixed buckets of this goop I will have to check it out. Anyways once I got it to a pancake batter consistency I started to pour it over my lost foam patterns......
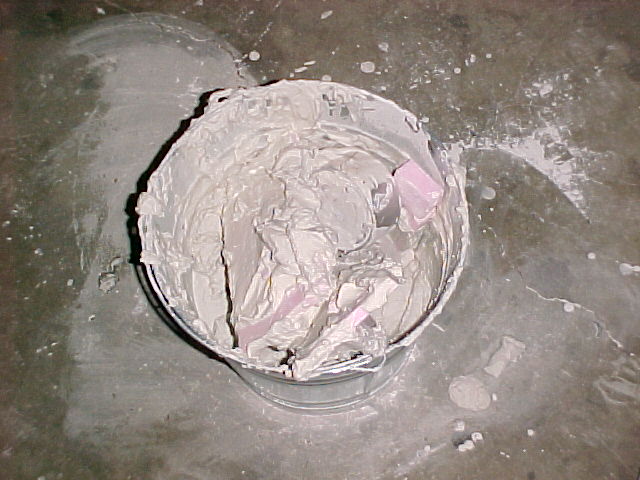
I didn't work quickly enough and suddenly I had a bucket of goo turning into solid stuff. I filled the bucket with water and had quite a time getting all the hardend mud out....I need that dang bucket.
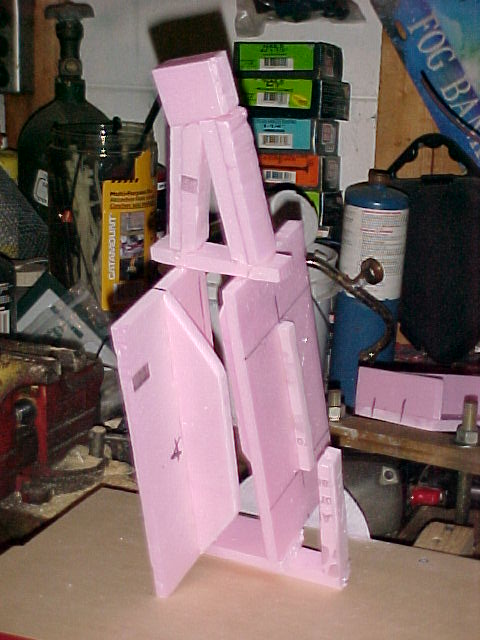
My first lost foam pattern setup with sprues attached and a shrink bob (?) at the bottom with a couple risers off of it. It holds two patterns of the flask mold. I use a low temp hot glue gun to glue the pieces of foam together. I add some glue then use the hot tip to spread it out evenly and then apply the next piece of foam. Too much glue makes a harder to melt plug when you pour the hot molten aluminum ...could cause a bad pour.
Here are a couple views of the flask side panels, as you can see I am trying to make 2 panels in each pouring.
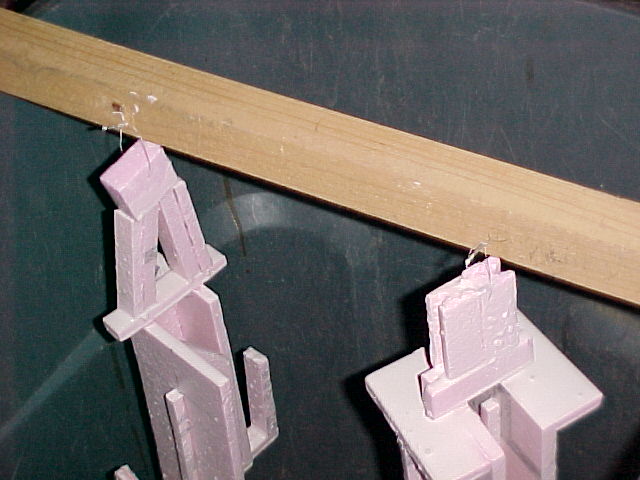
After I poured the first coat of watery sheetrock mud I hung the patterns up on a nail board over the trash bin.
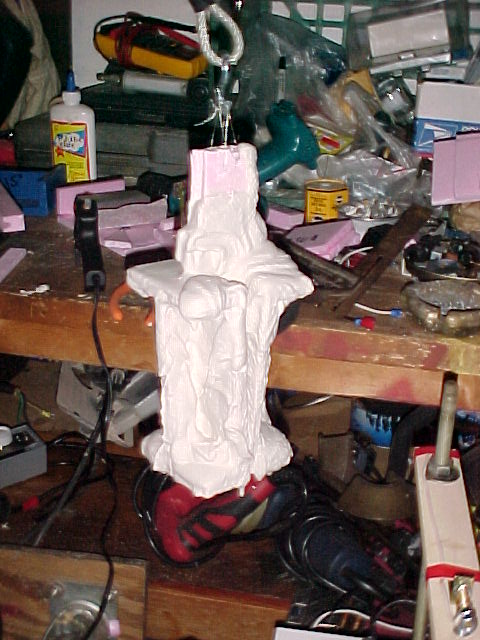
This what a lost foam pattern looks like after multiple coats of sheetrock mud.